words

24 Hours in Nagoya, Japan
24 hours in Nagoya, Japan: potato cheese dogs, miso tonkatsu, and morning sets

Japan’s Famous Nogami Shokupan Bread: People are Lining Up for Hours for this Fluffy White Bread
We waited in line for 45 minutes for a loaf of Japan’s most famous fluffy white bread. Was it worth it?

Friday Finds: 4.26.19
Last Friday in April…WHAT?!

The Best Places in Tokyo for Fluffy Japanese Shokupan Bread
Do you love fluffy bread? If so, fluffy bread heaven is in Japan.

Sakura Season in Tokyo
Our first time seeing sakura in Tokyo, plus what to eat and where to see the best sakura ever!

Friday Finds: 3.22.1 9
March is almost over, can you believe it??

Friday Finds: 3.8.19
Waste some time with these Friday Finds.

Friday Finds: 2.22.19
My favorite day of the week because Fridays mean FRIES!

Friday Finds 2.15.19
Fun Fri-YAY reads so you have something to talk about around the water cooler.

Friday Finds: 2.8.19
Here with some Friday Finds to read while you stay cozy inside.

What to Cook for the Lunar New Year: Year of the Pig
Celebrate Lunar New Year in the best way possible – with food, of course!

Friday Finds: 1.11.19
Here are some links for a chill time on a Friday.

10 Healthy-ish Recipes to Make this January
10 healthy-ish recipes for January: noodles, tofu, roasted squash, and more.

Top Nine of 2018

2018 Holiday Gift Guide
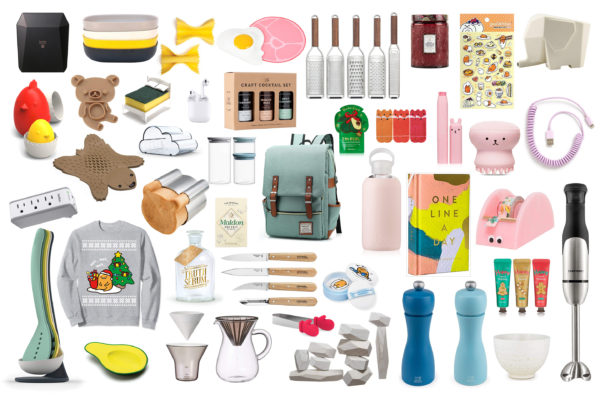
It’s the most wonderful time of the year…unless you hate shopping, that is. Make life easy by checking out the ultimate 2018 holiday gift guide right here. The best ideas for what to buy the guys, your bff, kitchen fanatics, and cute lovers :)

Black Friday Finds: 11.23.18
It’s time to shop and surf the internet. Oh, and most definitely time to put up the tree! Christmas time ALL the time, starting now :)

Friday Finds: 9.28.18
Staying in, staying cozy, and reading all the deep-dives on the internet! What are your weekend plans?

Friday Finds: 8.31.18
Last Friday in August – get your summer lazy days in while you can!

Friday Finds: 8.17.18
Fri-YAY!! Planning on a relaxing weekend around here :)

Friday Finds: 8.3.18
Happy Friday! Here are some fun finds for your weekend reading pleasure. Hope it’s by the pool :)

Friday Finds: 7.27.18
Last Friday in July…WHAT?!?! Hope you’re somewhere cool or by a pool sipping on something sweet. Here are some fun and quirky internet reads :)

What to Cook in July
A round up of fresh recipes to celebrate summer finally arriving

Friday Finds: 6.29.18
Last Friday in June!!!

Friday Finds: 6.15.18
Happy Friday! Please tell me there are noodles in your future because every weekend deserves noodles!!! Click on in to find loads of time-wasting articles :)


